CLEAR CREEK (and Hobbit Hole)

Hiking Guide Photos 1 2

Clear Creek photo (Zion National Park) -- © 2019 Joe Braun Photography
Large cracking mud formations in the belly of Clear Creek. Purchase a print of this photo!
Clear Creek photo (Zion National Park) -- © 2019 Joe Braun Photography
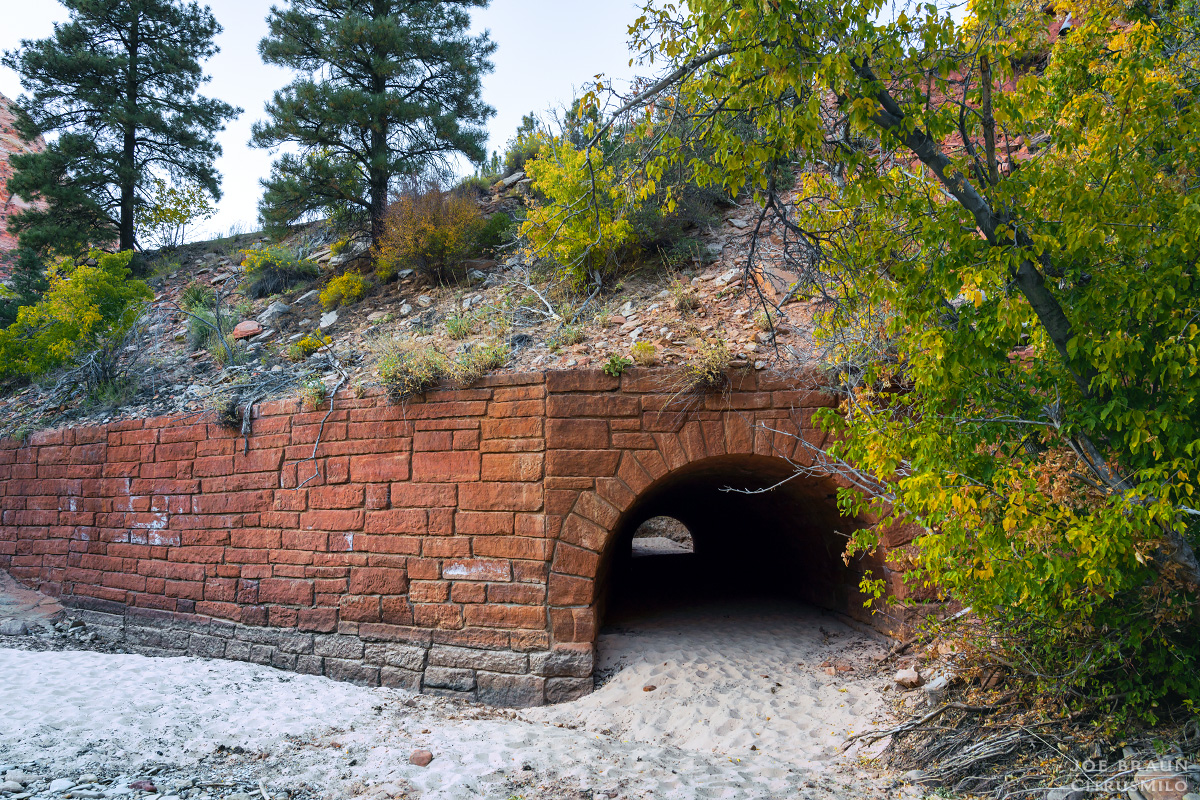
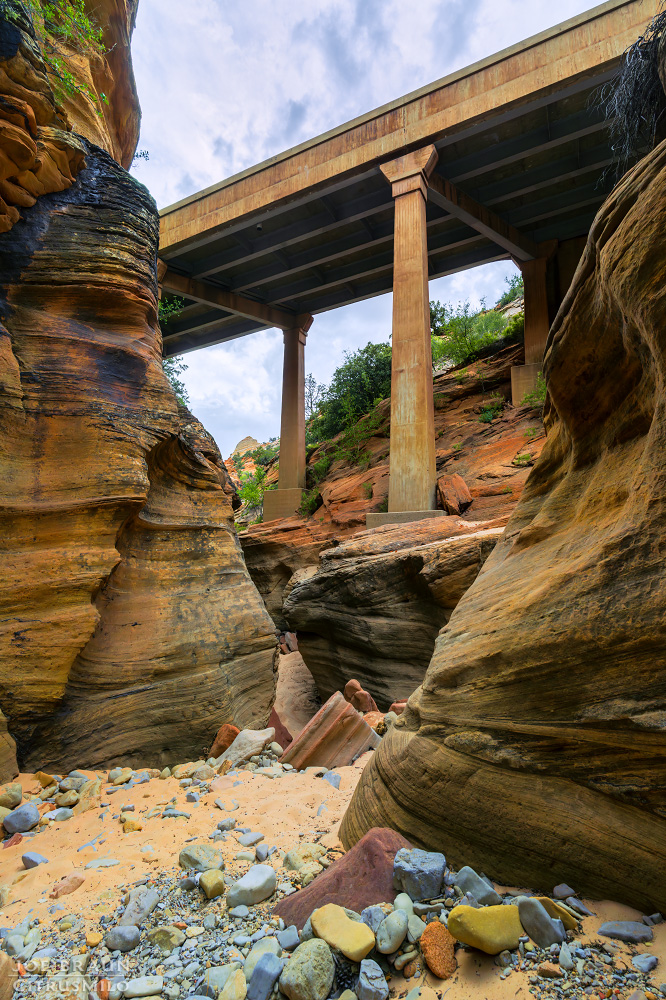
This drainage tunnel under Route 9 marks the confluence with Upper Pine Creek. Downstream is officially known as Pine Creek now. Purchase a print of this photo!
Clear Creek photo (Zion National Park) -- © 2019 Joe Braun Photography
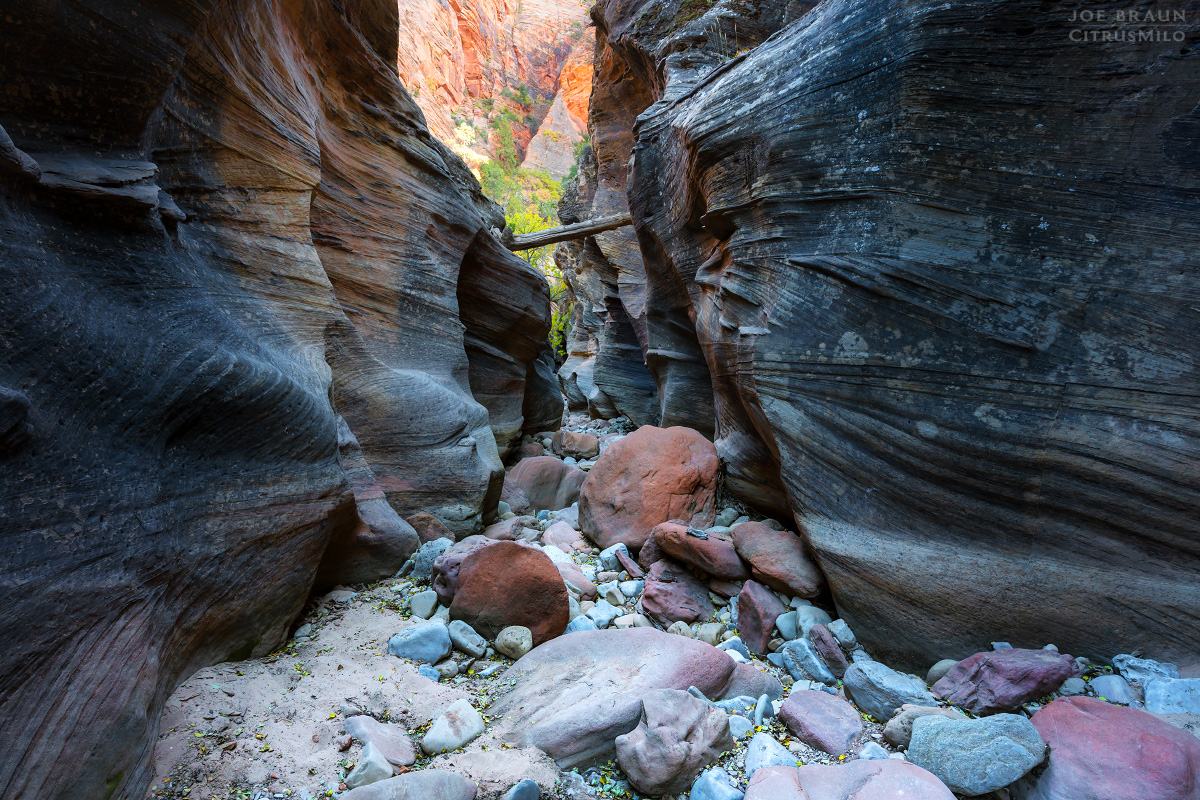
Continuing down the beautiful little slot canyon... Purchase a print of this photo!
Clear Creek photo (Zion National Park) -- © 2019 Joe Braun Photography
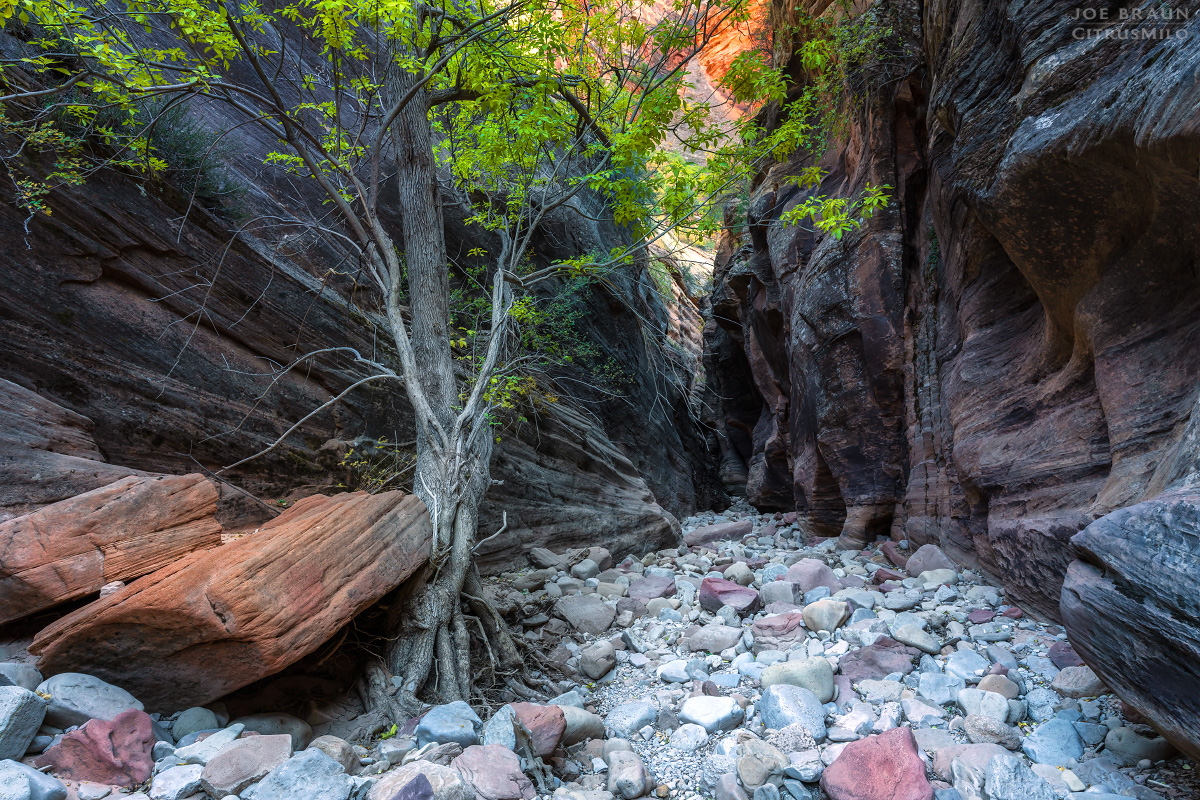
This tree gets just enough sunlight to survive in the canyon. Purchase a print of this photo!
Clear Creek photo (Zion National Park) -- © 2019 Joe Braun Photography
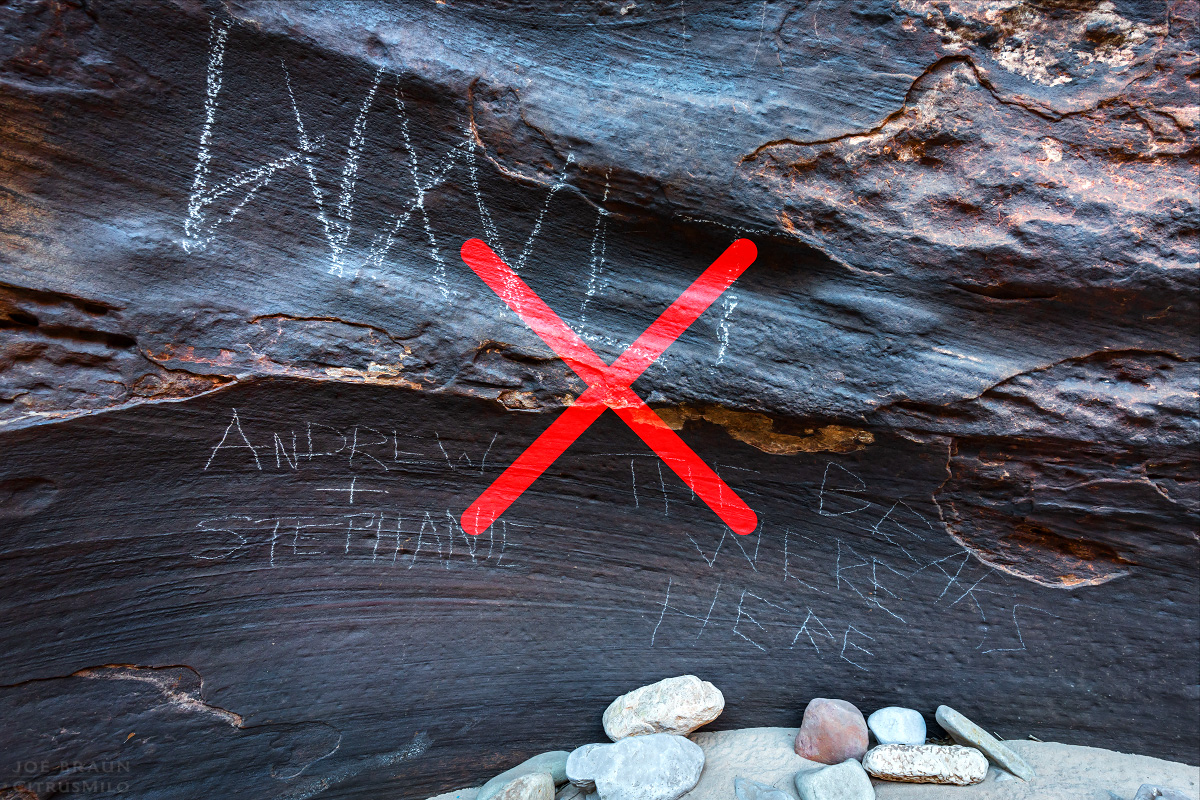
Please do not carve your name in the canyon walls. Do not be like Andrew and Stephanie!
Clear Creek photo (Zion National Park) -- © 2026 Joe Braun Photography
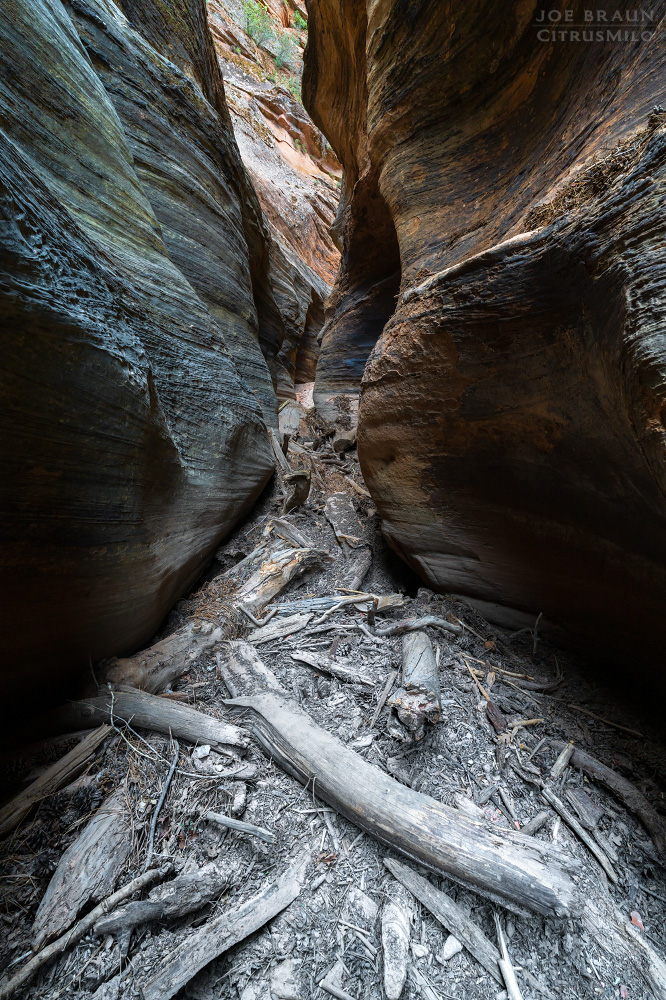
Just around the corner from the Canyon Overlook Trailhead is the sketchiest section where mud and logjams often collect after flash floods. Purchase a print of this photo!
Clear Creek photo (Zion National Park) -- © 2026 Joe Braun Photography
Arriving at the bridge by the Zion-Mt. Carmel Tunnel. It is time to turn around or scramble up to the parking lot; do not continue down the Pine Creek technical canyon unless you have a permit and know what you are doing. Purchase a print of this photo!
Clear Creek photo (Zion National Park) -- © 2019 Joe Braun Photography
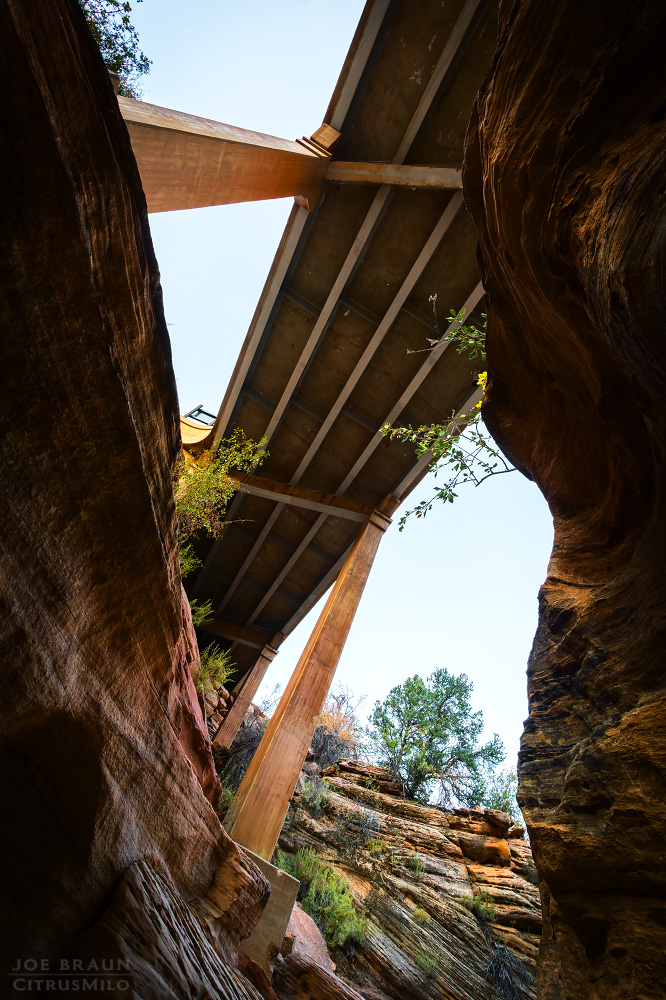
Looking up at the historic Route 9 bridge... Purchase a print of this photo!

VIEW THE HIKING GUIDE! Return to the Upper East Canyon

Please note: This web site and all images on this site are the property of CitrusMilo Adventures ©2026. Unauthorized public or commercial use of any of the images or text on this website without explicit permission is strictly forbidden.